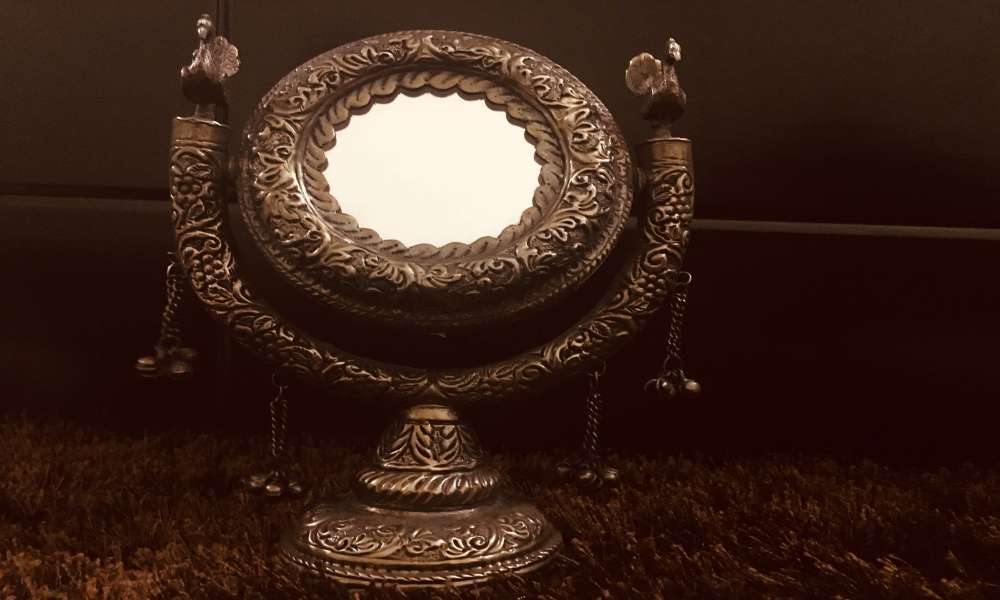
Preserving your antique mirror is not as difficult as you might think. There are a few things that you can do to help prevent it from deteriorating and to help it look its best once it has been resoldered. By following these tips, you can keep your cherished piece of furniture looking good for years to come. Try our easy guide on how to resilver an antique mirror! This guide is How To Resilver a An Antique Mirror
What is resilvering?
Resilvering is a process of restoring data to its original condition after it has been damaged or corrupted. It can be used to fix data that has been lost due to a power outage, crash, or other incident. Resilvers can also be used to recover data after it has been stolen or leaked.
What are the benefits of it?
If you’re like most people, you probably don’t think much about your bathroom speculum. But if you’re looking to spruce up your space and add a little bit of elegance, consider buying an antique mirror. Not only are they beautiful to look at, buying antique mirrors also have many benefits that can make your bathroom look better and feel more luxurious. Here are some of the top reasons why you should purchase an antique speculum:
- They typically come in different sizes and shapes, so they can fit almost any bathroom.
- They’re often made out of high-quality materials, so they’ll last long and look good even when used regularly.
- They typically come in multiple colors and styles, so you can choose one that perfectly suits your style.
What materials are needed for resoldering an antique mirror?
Resoldering an antique mirror can be done with a few simple materials, including salt, water, and a cloth. First, mix 1 part salt to 9 parts water in a bowl. Soak the speculum in the solution for at least 30 minutes. Then, use a cloth to rub the speculum until the silver is removed. Finally, rinse the speculum with clean water and dry it off.
Step One: Clean the Mirror: Remove any dust
Looking into the reflector, you see a tired looking person. You can’t help but feel like you don’t look as good as you used to. The dust and dirt collects on your face and in between your teeth, making it difficult to see what’s really going on. If only there was a way to clean the speculum without having to use harsh chemicals or spend hours scrubbing it clean! There is: using a microfiber cloth! Microfiber cloths are made with special fibers that can remove all of the dust and dirt from any surface, including mirrors. Just wet the cloth slightly, wring it out, and wipe down the speculum. Don’t forget to use circular motions to avoid streaks. You’ll be able to see yourself looking refreshed and rejuvenated in no time!
Remove Debris
Are you frustrated with your reflection? Although mirrors can be a fun and decorative piece in your home, they can also be a source of dirt and debris. If you’re unhappy with the way you look in the mirror, it’s time to clean it up! Here are 8 easy tips on how to remove debris from a mirror:
- Use a soft cloth or sponge to gently wipe down the surface of the speculum. Be careful not to scratch the surface.
- Once the surface is clean, use a mild soap solution to clean any remaining dirt and debris.
- Rinse off the soap solution with cold water and dry off the speculum thoroughly before placing it back in its location.
- Use a lint-free cloth to gently polish the speculum surface.
Paint that may be obscuring the underlying glass
There are a number of products that can be used to clean mirrors, but the best way to remove any haze or obscuring paint is with a diluted solution of ammonia. Ammonia can be purchased at most stores and should be diluted with water before use. To clean a reflector, spray the ammonia solution onto the speculum surface and then scrub with a cloth or sponge. Be careful not to scratch the glass.
Step Two: Polish the Mirror: Use a soft cloth
A good way to keep your speculum looking new is to polish it on a regular basis. This can be done using a soft cloth or a polishing pad. Be sure to use a light touch and avoid over-polishing the speculum, which could lead to scratches.
Use polishing pad
Looking at polishing the reflector is a great way to brighten up your home and make it look more polished. It’s also a great way to get rid of any imperfections or dust that may have built up on the surface. One of the best polishing pads for mirrors is the microfiber pad. This type of pad has tiny fibers that help polish the reflector quickly and easily. You can use a circular motion or an up-and-down motion to polish the reflector. Just be sure not to apply too much pressure, as this could damage the surface.
If necessary, use a little bit of polish or wax to seal any scratches
Did you know that a little bit of polish or wax can help to seal any scratches on your mirror? This is especially helpful if you don’t have the time or money to get it professionally repaired. Just take a small amount of polish or wax and rub it into the scratch. Be sure to use a cloth to help remove any excess. You’ll be amazed at how well this works!
Step Three: Apply a New Coat of Glass: Apply a new coat of glass to the entire mirror using a spray bottle or brush
If your reflector is damaged or needs a new coat of glass, there are a few different ways you can apply it. You can use a spray bottle or brush to evenly coat the reflector with glass cleaner. Make sure to avoid getting any of the residue on the reflector itself.
Make sure to evenly cover all of the surface area
If you’re going to replace your window glass, it’s important to do it evenly and completely. Apply a new coat of glass to the entire surface area so that there are no cloudy or uneven edges. This will make your window look brand new, and you’ll save yourself from having to pay for repairs in the future.
The final step in the restoration process: Resolving the antique mirror
When restoring an antique mirror, many people mistakenly assume that the mirror is finished once the dust and debris are removed. However, there are still a few final steps that must be completed in order to restore the reflector to its former glory. These final steps include cleaning and polishing the surface of the reflector, reattaching any broken or missing pieces, and finally painting or correcting any damages done during restoration. By following these simple steps, antique mirrors can be brought back to life and enjoyed for years to come.
Conclusion
In conclusion,resilvering antique mirrors is a simple process that can be done with the right tools and some careful attention to detail. By following these steps, you can restore the reflector to its former glory and make it look like it just came off the shelf. So if you’re ever in the market for a new antique reflector , remember: resilvering isn’t as hard as it seems!