Before you begin installing track lighting, It’s crucial to gather all the necessary tools and materials to ensure a smooth and efficient process. You’ll typically need a voltage tester, Screwdrivers, Wire strippers, Wire nuts, A drill, Anchors, Screws, A ladder, And a pencil for marking. Additionally, How to install track lighting Make sure you have the trail kindling kit, Including the tracks, Fixtures, And bulbs. Verify that you have the correct wiring, Such as flexible conduit or cable connectors, Depending on your electrical setup. Taking time to prepare your workspace with these essential items will make the installation process safer and more manageable, Ensuring a well-lit and stylish living space.
Turn off the power to the circuit
Safety should always be a top priority when installing track lighting, And a crucial step is to turn off the power to the circuit you’ll be working on. Start by locating your home’s electrical panel or breaker box and identify the circuit that powers the area where you’ll be installing the kindling. Usually, Circuits are labeled for different rooms or areas. Once you’ve identified the correct circuit, Switch it to the “off” position.
After turning off the power, Use a voltage tester to double-check that there is no electricity flowing to the wires you’ll be working with. This step is critical in preventing electrical shocks or accidents during the installation process. Remember to exercise caution, And only proceed with the installation once you are absolutely certain that the circuit is de-energized. Taking these precautions ensures a safe and successful trail lighting installation.
Choose the appropriate location for the track
Selecting the right location for your track lighting is essential for achieving the desired ambiance and functionality. Consider factors such as the room’s layout, The area you want to illuminate, And the aesthetics you wish to achieve. Ensure the trail placement aligns with your kindling goals, Whether it’s for general illumination or spotlighting specific objects. Additionally, Confirm that there’s suitable wiring access in the chosen location. A well-thought-out placement will enhance the overall appeal and functionality of your trail kindling, Ensuring it complements your space perfectly while meeting your lighting needs.
Mark and install the electrical box
Marking and installing the electrical box is a crucial step in track lighting installation. First, Use a pencil to mark the exact spot where you’ll mount the electrical box on the ceiling or wall, Ensuring it aligns with your track’s desired location. Next, Secure the electrical box in place, Following the manufacturer’s instructions and using appropriate anchors and screws for your ceiling or wall type.
This box serves as the connection point for the wiring and provides support for the trail. Make sure it’s level and securely attached. Once the electrical box is in place, You can proceed with routing and connecting the electrical wiring for your track kindling, Ensuring a safe and stable foundation for your installation.
Attach the mounting bracket
Attaching the mounting bracket is a pivotal step in the track lighting installation process. Start by positioning the bracket over the electrical box you’ve securely installed earlier. Ensure the bracket’s screw holes align with those on the box. Using the provided screws or appropriate hardware, Fasten the bracket firmly to the box, Ensuring it is level and secure.
The mounting bracket serves as the primary support for your track kindling system. Its stability is crucial in holding the trail securely in place. Be sure to follow the manufacturer’s instructions closely, As different trail lighting kits may have specific bracket designs or installation procedures.
Once the bracket is securely attached, You’re ready to proceed with mounting the track itself onto the bracket, Setting the stage for the next steps in your trail kindling installation, Such as wiring and fixture attachment.
Secure the track to the bracket
With the mounting bracket in place, Secure the track to it by aligning the track’s attachment points with the bracket’s grooves or slots. Depending on your specific track lighting kit, This may involve sliding, Clipping, Or screwing the trail onto the bracket. Ensure it’s firmly attached and level. This step is essential as it provides the structural support for the entire track kindling system. Once the track is securely in position, You can proceed with wiring and attaching the lighting fixtures, Bringing your trail kindling installation one step closer to completion.
Connect the wiring to the track
Connecting the wiring to the track is a critical step in your trail lighting installation. First, Make sure the power to the circuit is still turned off for safety. Then, Carefully follow the manufacturer’s instructions and use wire connectors to join the electrical wires from your ceiling or wall to the wiring on the trail. Typically, You’ll have a black (hot) wire, A white (neutral) wire, And a green or bare wire (ground). Match these wires correctly, ensuring a secure connection with wire nuts or connectors. Afterward, Tuck the connected wires into the track’s electrical channel and secure them in place. Finally, Restore power and test your track kindling to ensure it functions correctly.
Install track light fixtures
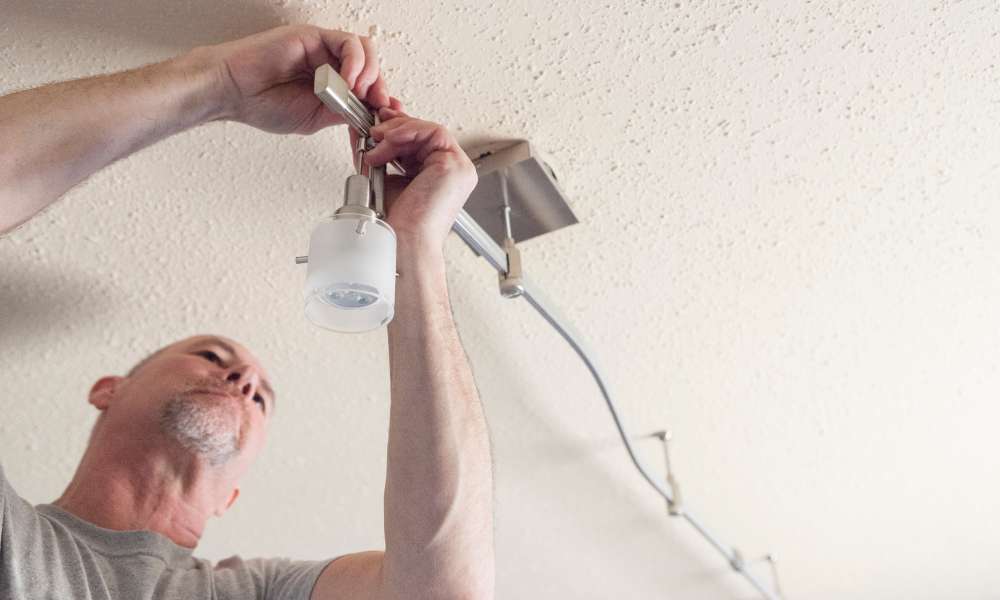
Installing track light fixtures is the exciting final step in your trail lighting project. After securing the track and connecting the wiring, Carefully position your chosen fixtures along the trail. Depending on the style of your fixtures, You may need to twist, Snap, Or clip them into place, Following the manufacturer’s instructions.
Ensure the fixtures are evenly spaced and aligned according to your kindling design preferences. Once they’re securely attached, Insert the appropriate light bulbs into each fixture, Being cautious not to exceed the recommended wattage.
Finally, Turn on the power and test your newly installed track lighting. Enjoy the transformation of your space as it’s bathed in the beautiful illumination created by your carefully selected fixtures.
Aim and position the fixtures
Aiming and positioning the fixtures is a crucial step in optimizing the effectiveness of your track lighting system. After installing the fixtures on the trail, Take the time to adjust their angles and positions to achieve the desired kindling effect. Depending on your lighting goals, You can direct the fixtures to highlight specific areas, Artwork, Or architectural features. Ensure uniform spacing between fixtures for even illumination.
Experiment with different angles and configurations to find the perfect balance of light and ambiance. Consider factors like room size, Function, And decor. By fine-tuning the fixture placement, You can create a visually appealing and functional kindling scheme that enhances your space’s aesthetics and functionality.
Restore power and test the lights
After completing the installation and positioning of your track lighting fixtures, It’s time to restore power and test the lights. First, Double-check that all connections are secure, And there are no loose wires or exposed conductors. Once you’ve ensured everything is safe, Turn the power back on at the electrical panel or breaker box.
With the power restored, Flip the light switch or use the dimmer control if applicable. Observe the trail lights as they illuminate the room. Pay attention to the distribution of light and ensure that the fixtures are producing the desired brightness and coverage.
Testing the lights allows you to spot any potential issues or adjustments needed before completing the installation. If everything functions as expected, You’ve successfully installed and tested your trail kindling , Bringing beautiful illumination to your space.
Conclusion
In conclusion, installing track lighting is a straightforward process. Begin by planning the layout and marking the placement of the tracks. Secure the tracks to the ceiling or wall, connect the electrical wiring, and attach the light fixtures. Ensure proper alignment and test the lights to confirm they work correctly. Track lighting is a versatile and customizable option for illuminating various spaces in your home.